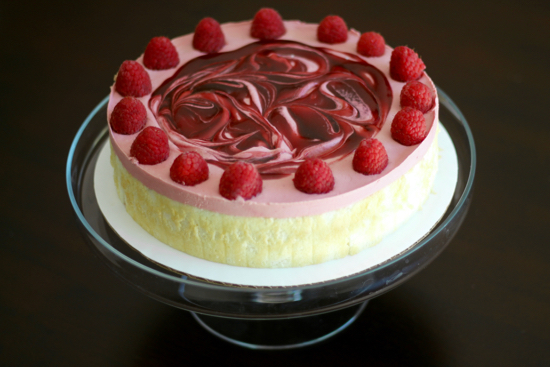
WARNING! This will be hard work, there will be many dishes and you will have to do a lot of waiting. But I can promise you, it will all be worth it and then some! This Raspberry Charlotte is nothing short of spectacular. It is visually stunning and tastes absolutely incredible. It’s indulgent, luxurious and perfectly sweet. And wait til we cut into it!
America’s Test Kitchen had this updated Raspberry Charlotte recipe on their show recently, and it even made the cover of their Best of America’s Test Kitchen 2016 Special. I have now made it 4 times and I’m still impressed each and every time, not to mention my equally impressed friends and family that have given endless compliments.
A light chiffon cake border filled with a luscious raspberry curd lightened with whipped cream, swirled with raspberry jam and garnished with fresh raspberries is EVERYTHING. You may be wondering how the to get the cake to border the curd. Worry not friends, I’ve got your back! I’ll show you step-by-step exactly how to construct it, so you’ll have no problem recreating it at home. You guys have to make this…make it now! Then, come back and thank me 😉
We’ve got a lot of work to do, so let’s get started!
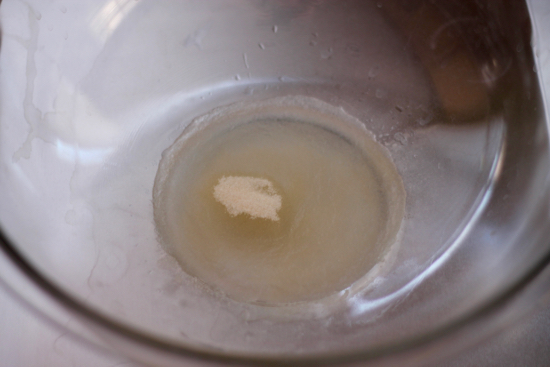
Add water to a large bowl and sprinkle with gelatin. Set aside.
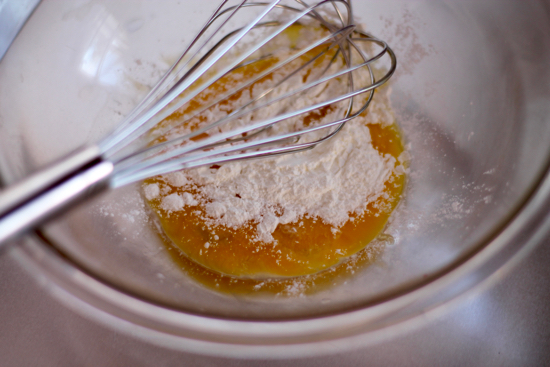
Whisk together egg yolks and cornstarch. Set aside.
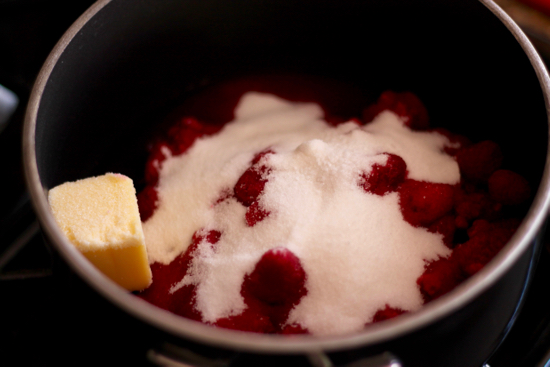
Add raspberries, sugar, butter and salt to a saucepan over medium heat. Whisk frequently and cook until the raspberries start to break down, about 4-6 minutes.
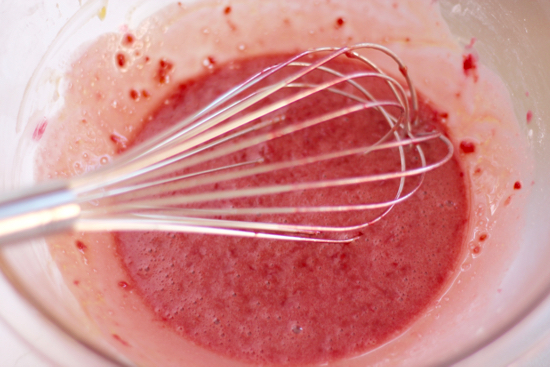
Slowly add 1/2 cup of the hot raspberry mixture to the cornstarch/egg yolk mixture. Whisk continuously so you don’t scramble the egg yolks.
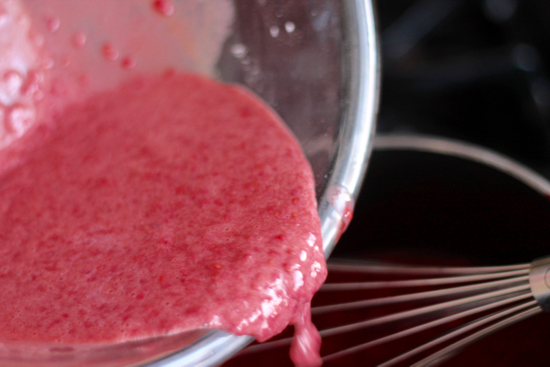
Return the tempered mixture back into the saucepan and cook until the mixture bubbles and thickens, whisking constantly, about 1 minute.
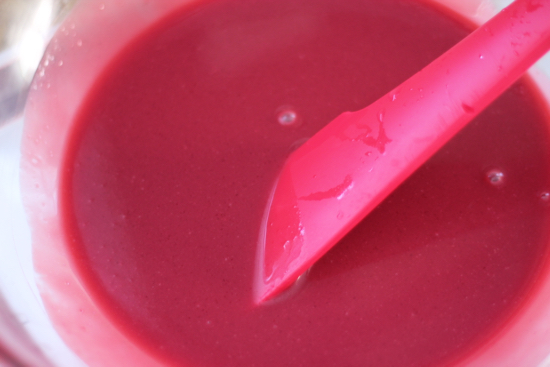
Pour the raspberry mixture through a fine mesh strainer over the bowl with gelatin, pressing the solids with a spatula until all that remains are the seeds. Discard seeds and stir until gelatin is dissolved. Let sit at room temperature for 30 minutes.
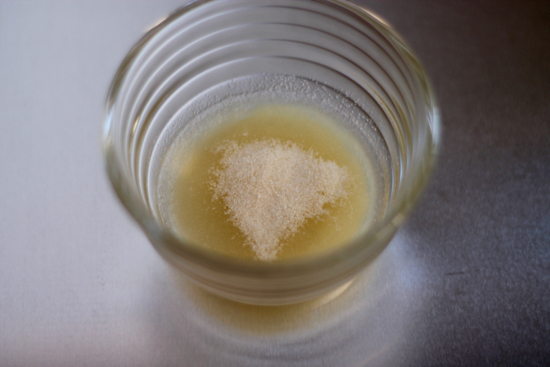
Moving on to the jam mixture, sprinkle gelatin over lemon juice in a small bowl and let sit for 5 minutes.
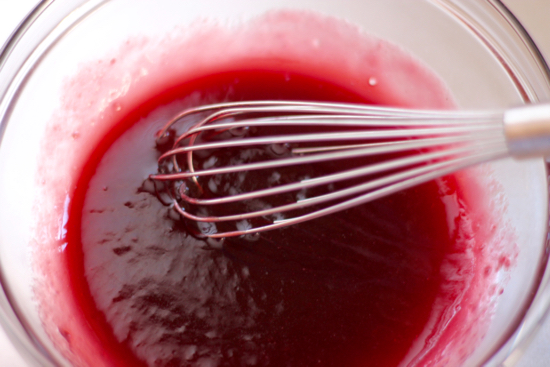
Heat the seedless raspberry jam in another small bowl in the microwave, 30 seconds at a time, until the jam is nice a fluid.
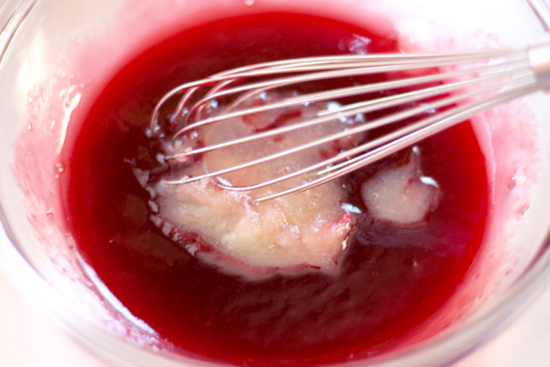
Add the softened gelatin to the warm jam and whisk until combined. Set aside.
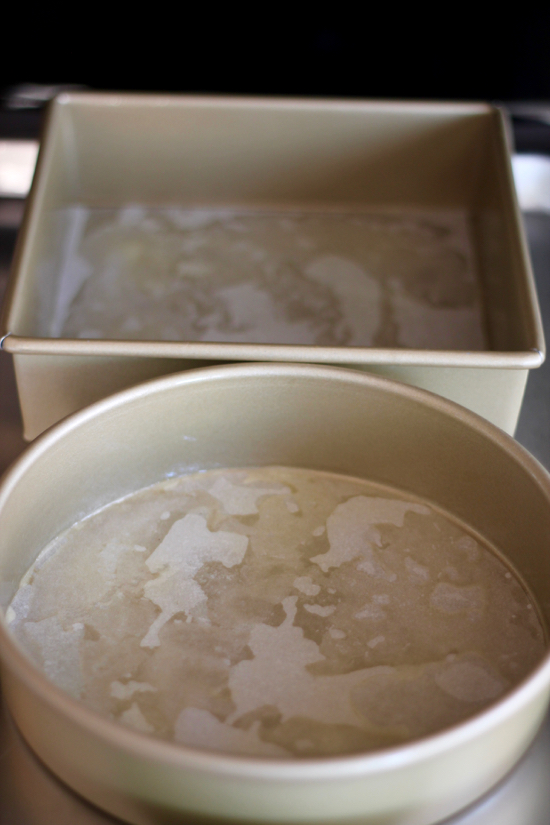
Pre-heat the oven to 350 degrees. Lightly grease an 8″ square and 8″ round cake pan. Cut parchment paper to fit the bottom of each pan and lightly grease the parchment paper as well. We don’t want any sticking with our super light and delicate chiffon cake.
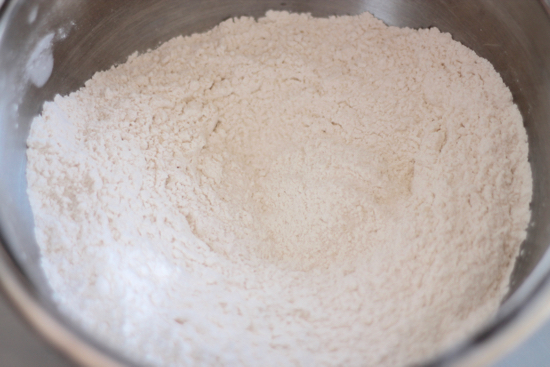
For the cake, we’re going to whisk cake flour, sugar, baking powder, and salt together in a medium bowl.
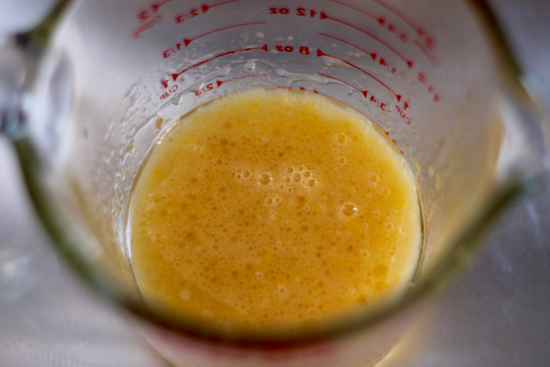
In another bowl whisk together oil, egg, water and vanilla extract. Whisk into flour mixture until smooth.
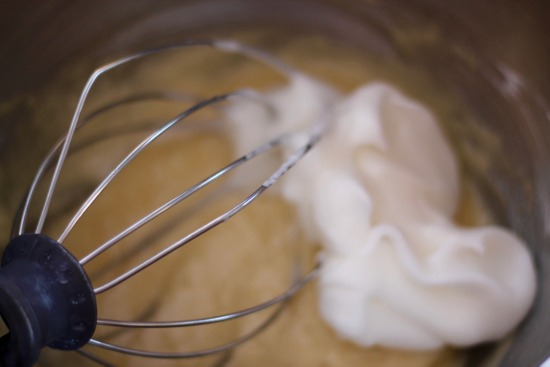
Using a stand mixer, whisk egg whites and cream of tartar on medium-high until soft peaks form, about 3-4 minutes. Add 1/3 of egg whites to batter. Whisk gently until mixture is lightened. Using a rubber spatula, gently fold remaining egg whites into batter. We want to keep it nice and airy.
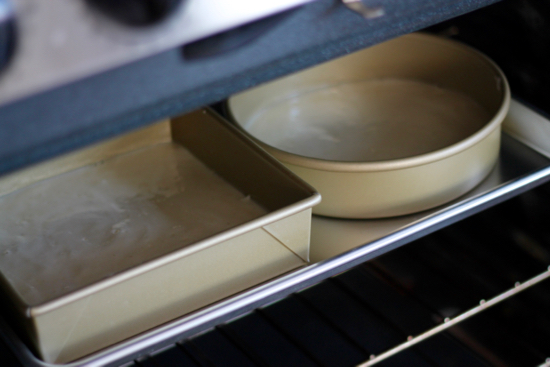
Pour 1 cup of the batter into the round cake pan and spread out evenly. Pour remaining batter into the square pan and spread out evenly. You want the cakes to be flat and not domed in the middle. Bake for 8-11 minutes until the cake bounces back in the middle. You do not want the cakes to brown. The round cake will be done before the square cake since it has less batter. Just keep a close eye on them. Allow cakes to cool in pans, on a wire rack for 5 minutes. Invert cakes directly onto the wire rack and remove parchment paper. Cool completely, about 15 minutes.
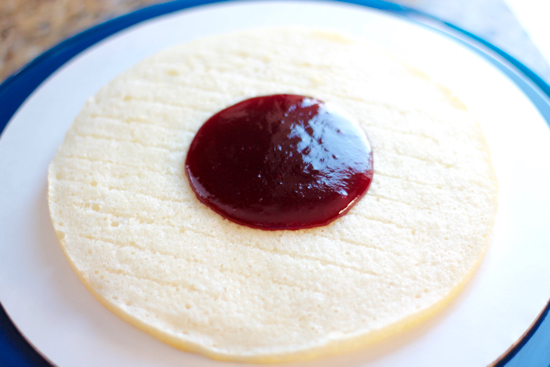
Once cooled, place round cake on a serving dish. Add 2 tablespoons of jam mixture on top.
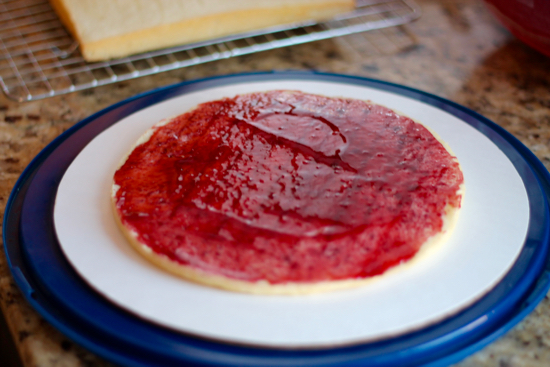
Spread it out over the surface of the cake with a small offset spatula. Place the ring from a 9-inch springform pan around the cake, leaving equal space on all sides. Leave clasp of ring loose.
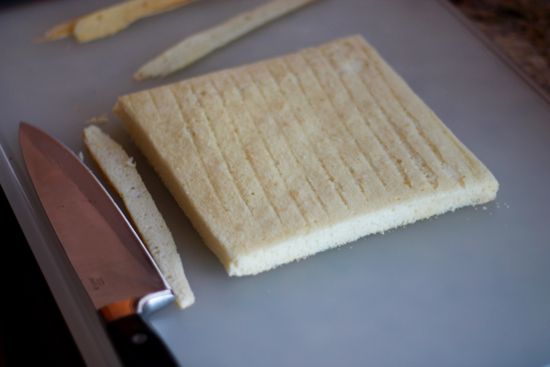
Trim off 1/8″ from all sides of the square cake. This makes for a perfect little snack 🙂
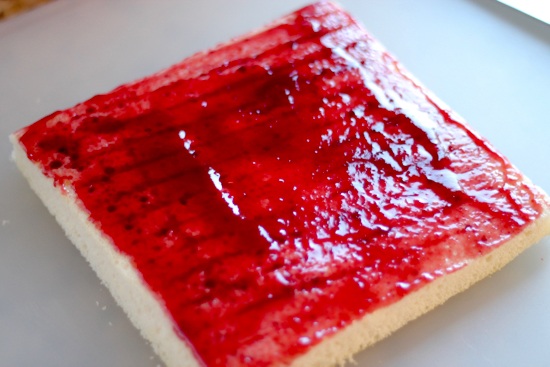
Spread out 2 more tablespoons of the jam mixture over the square cake.
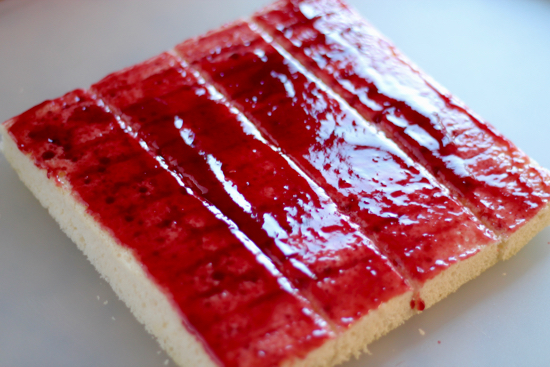
Cut into 4 equal sized long strips.
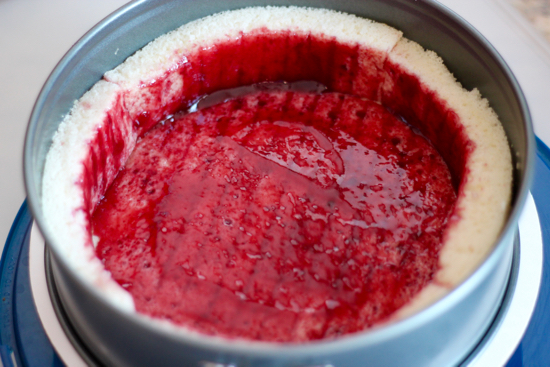
This is where things get a little scary. But you can do it! Just take your time. Place each strip vertically around the round cake. This is why cake pan size is important. Carefully nestle the ends together neatly. Once you have all the pieces together, fasten the clasp of the springform pan to close it. Whew! You’ve overcome the hurdle, it’s smooth sailing from here 🙂
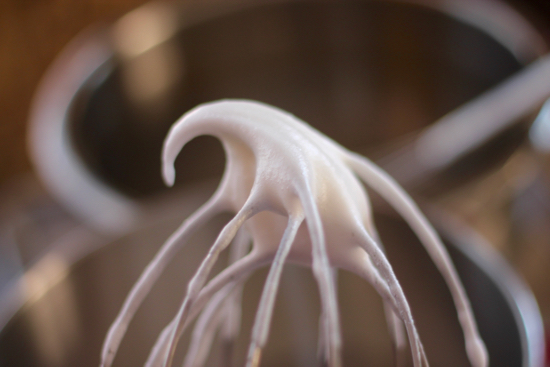
Whisk heavy cream in a stand mixer until soft peaks form.
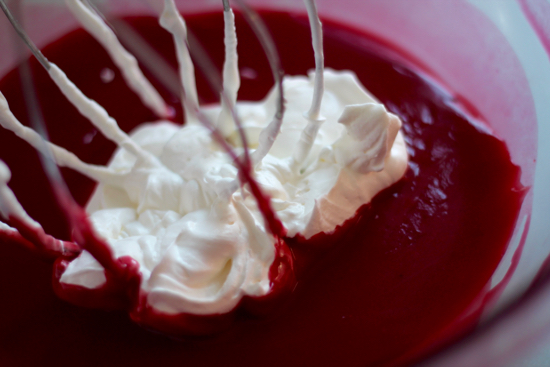
Transfer 1/3 of the whipped cream into the raspberry curd we made earlier and gently whisk until mixture is lightened.
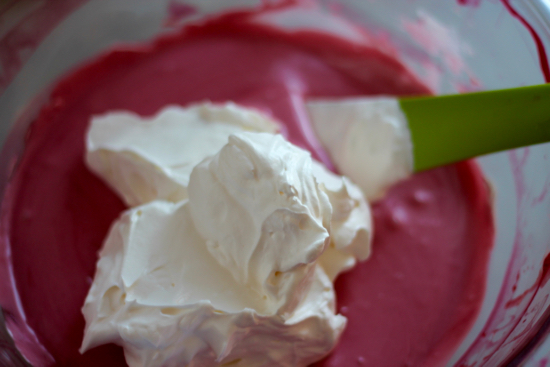
Add in the rest of the whipped cream.
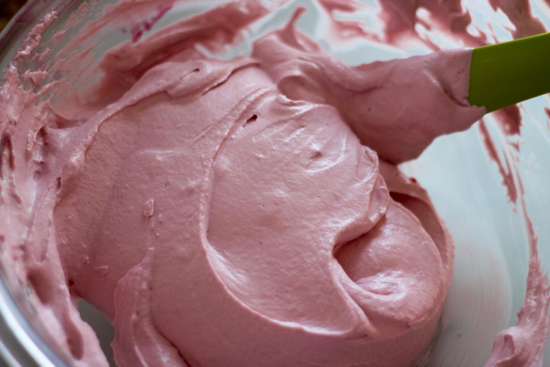
Fold gently with a rubber spatula until it is mixed thoroughly and no white streaks are left.
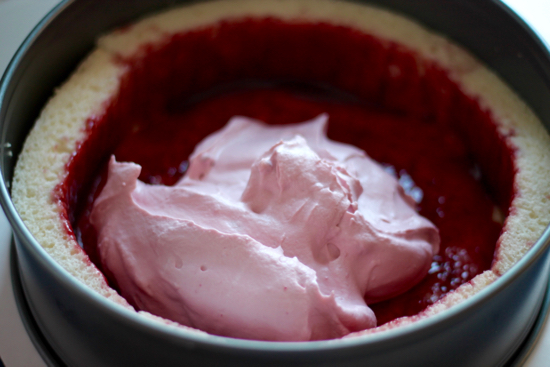
Pour filling into the center of the cake ring.
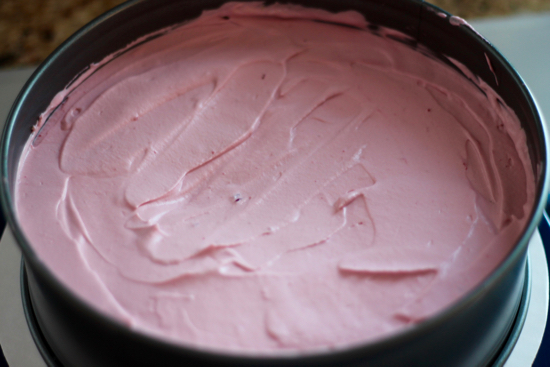
Spread out evenly.
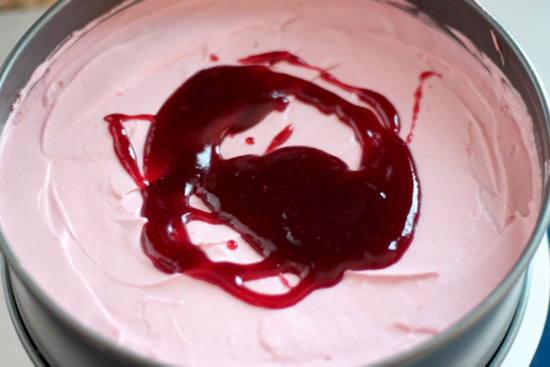
Drizzle the remaining jam mixture over the top.
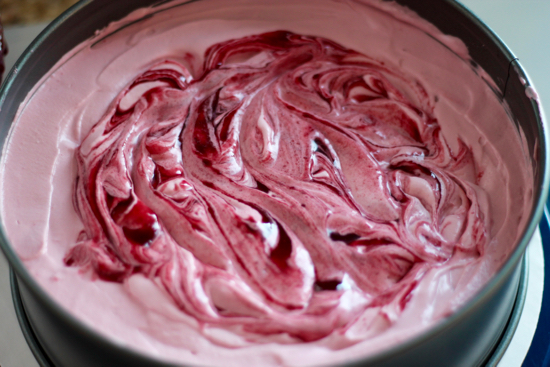
Swirl around with a knife in the center, careful to not go into the cake edges. I’ve made this many times now, and I do it a little different each time. Just swirl as much as you feel!
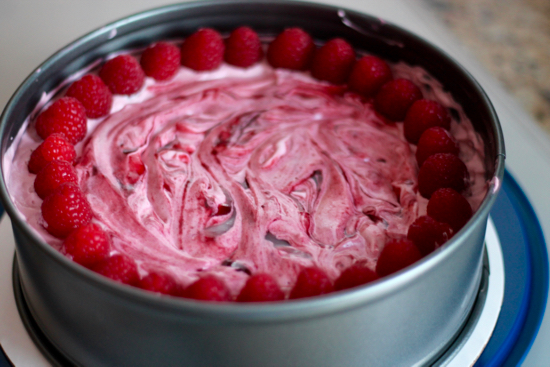
Place fresh raspberries around the edge. Refrigerate for at least 5 hours and up to 24. When unmolding, run a paring knife around the edge of the ring before releasing the clasp to be extra sure nothing sticks.

The unmolded masterpiece!! This one I did with less swirl and raspberries. There is no wrong way to do it. Let stand at room temperature 20 minutes before slicing and serving.
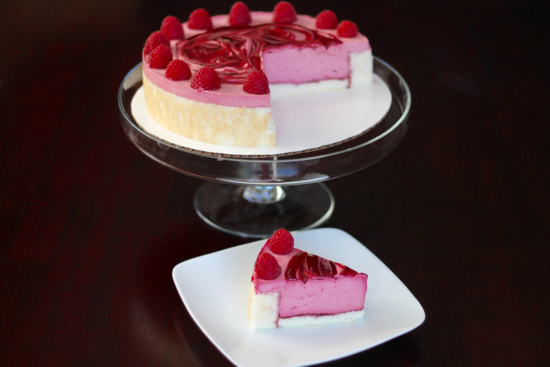
Look how gorgeous it is when you cut into it! Little tip: Warm up a knife under hot water and wipe dry between cuts. This will make for neater slices.
Here’s your easy to use printable recipe. Just head on back here for some visual cues if needed.
Have a fabulous rest of the week and let me know if you give this Raspberry Charlotte a try 🙂
- FILLING
- 2 tablespoons water
- 1¼ teaspoons unflavored gelatin
- 3 large egg yolks
- 2 teaspoons cornstarch
- 1 pound frozen raspberries, thawed
- ⅔ cup sugar
- 2 tablespoons unsalted butter
- Pinch of salt
- 1¾ cups heavy cream
- Jam:
- ½ teaspoon unflavored gelatin
- 1 tablespoon fresh lemon juice
- ½ cup seedless raspberry jam
- Cake:
- ⅔ cup cake flour
- 6 tablespoons sugar
- ¾ teaspoon baking powder
- ⅛ teaspoon salt
- ¼ cup vegetable oil
- 1 large egg
- 2 tablespoons water
- 1 teaspoon vanilla extract
- 3 large egg whites
- ¼ teaspoon cream of tartar
- Fresh raspberries for garnish
- FILLING: Add water to a large bowl and sprinkle with gelatin. Set aside.
- Whisk together egg yolks and cornstarch. Set aside.
- Add raspberries, sugar, butter and salt to a saucepan over medium heat. Whisk frequently and cook until the raspberries start to break down, about 4-6 minutes.
- Slowly add ½ cup of the hot raspberry mixture to the egg yolk/cornstarch mixture. Whisk continuously so you don't scramble the egg yolks.
- Return the tempered mixture back into the saucepan and cook until the mixture bubbles and thickens, whisking constantly, about 1 minute.
- Pour the raspberry mixture through a fine mesh strainer set over the bowl with gelatin, pressing the solids with a spatula until all that remains are the seeds. Discard seeds and stir until gelatin is dissolved. Let thicken at room temperature for 30 minutes.
- JAM: Sprinkle gelatin over lemon juice in a small bowl and let sit for 5 minutes.
- Heat the seedless raspberry jam in another small bowl in the microwave, 30 seconds at a time, until the jam is nice a fluid.
- Add the softened gelatin to the warm jam and whisk until combined. Set aside.
- CAKE: Preheat the oven to 350 degrees. Lightly grease an 8" square and 8" round cake pan. Cut parchment paper to fit the bottom of each pan and lightly grease the parchment paper as well.
- Whisk flour, sugar, baking powder, and salt together in medium bowl.
- In another bowl whisk together oil, egg, water and vanilla extract. Whisk into flour mixture until smooth.
- Using a stand mixer, whisk egg whites and cream of tartar on medium-high speed until soft peaks form, about 3-4 minutes.
- Add ⅓ of egg whites to batter. Whisk gently until mixture is lightened. Using a rubber spatula, gently fold remaining egg whites into batter.
- Pour 1 cup of the batter into the round cake pan and spread out evenly. Pour remaining batter into the square pan and spread out evenly. You want the cakes to be flat and not domed in the middle. Bake for 8-11 minutes until the cake bounces back in the middle. You do not want the cakes to brown. The round cake will be done before the square cake since it has less batter. Just keep a close eye on them.
- Allow cakes to cool in pans, on a wire rack for 5 minutes. Invert cakes directly onto the wire rack and remove parchment paper. Cool completely, about 15 minutes.
- Once cooled, place round cake on a serving dish. Add 2 tablespoons of jam mixture on top.
- Spread it out over the surface of the cake with a small offset spatula. Place the ring from a 9-inch springform pan around the cake, leaving equal space on all sides. Leave clasp of ring loose.
- Trim off ⅛" from all sides of the square cake. Spread out 2 more tablespoons of the jam mixture over the square cake. Cut into 4 equal sized long strips.
- Place each strip vertically around the round cake. Carefully nestle the ends together neatly. Once you have all the pieces together, fasten the clasp of the springform pan to close it.
- Whisk heavy cream in a stand mixer until soft peaks form.
- Transfer ⅓ of the whipped cream into the raspberry curd we made earlier and gently whisk until mixture is lightened.
- Add in the rest of the whipped cream. Fold gently with a rubber spatula until it is mixed thoroughly and no white streaks are left.
- Pour filling into the center of the cake ring. Spread out evenly.
- Drizzle the remaining jam mixture over the top. Swirl around with a knife in the center, careful to not go into the cake edges.
- Place fresh raspberries around the edge. Refrigerate for at least 5 hours and up to 24.
- When unmolding, run a paring knife around the edge of the ring before releasing the clasp to be extra sure nothing sticks.
- Let stand at room temperature for 20 minutes before slicing and serving.
- Warm up a knife under hot water and wipe dry between cuts. This will make for neater slices.
I’m sharing this fantastic dessert with my friends over at Fiesta Friday!


OMG!
This looks so tasty! To be honest, my mouth is watering right now, hehe!
Beautiful cake, dear!
-JarOfSweeets-
http://www.jarofsweeets.com/sweeets/upcoming-festival-fever-2016
https://www.youtube.com/channel/UCwFiBVNSnacfXubCZHJxeHQ
Thanks so much 🙂
This is absolutely refreshingly Divine!!!! You are amazing Sarah!!! Love Love Love
You’re too kind 🙂
This is one totally impressive dessert. WOW!!!! It’s absolutely perfection. It is a lot of work but worth every pan, bowl and every minute of work. Gorgeous.
Could not have said it any better-WOW!!! xo
Thanks BBFF!
Thanks, Suzanne! It was a labor of love 🙂
Sarah, I think you made this just for me. Well, I know you didn’t but in my mind I think you did lol. This looks absolutely decadent and I am so in love with this. Okay you just gave me yet another recipe I can’t wait to try out.
Haha! Let me know when you give it a try!
yeah, way too much work for me! But it is stunning. You’re very talented!
Thanks so much Mimi 🙂
Beautiful dessert and from looking at the ingredients and directions it may not be simple but I bet it is delicious. Hmmm.. save this for a special occasion or the holidays 🙂
Thank you Judi! It’s perfect for a special occasion 🙂
GORGEOUS! Worth all 29 steps! 🙂 Great job.
It is worth it! Thanks 🙂
This looks like the perfect dessert – all I need now is the perfect occasion. I am certainly bookmarking this, and will let you know when I try it.
Thanks, Hilda! Can’t wait to hear how you like it 🙂
Phew! You aren’t kidding that this is a lot of work! But you know what they say… no pain, no gain! What awesome results for so much work! It looks divine! 😀
So right, Julianna! Thanks so much 🙂
Oh my goodness! I’ve seen Charlottes but nothing like this!! It looks amazing!! 🙂
Mollie
Thank you!!!
This looks great! Thanks for sharing those step-by-step pictures! Makes it so much easier to understand and make it myself 😀 Pinned for later!
So glad you like the step-by-step pictures 🙂 Let me know when you give it a try!
This is simply gorgeous Sarah and I am pinning it for when I am completely out of my mind. I made a charlotte royal and it was a lot of work and many dishes but oh so impressive.
Hahaha! Thanks so much, Julie 🙂
Thank you so much for sharing the ATK recipe, tried and tested in your own kitchen. 🙂 Quick question, what diameter does your spring form have in order to hug the 8″ round plus rim? 10″ or bigger?
On the show they said 9inch springform
Made this for my anniversary and it was PERFECT! Thanks
I’ve been wanting to make this Charlotte for a while, and would like to modify it by putting a thin layer of dark chocolate gan ache over the jam on the bottom and sides on the chiffon cake. Do you think this would work? Or perhaps a different application for the dark chocolate?
I’m interested in this as well! My daughter’s name is Charlotte she watched the ATK episode with me and asked metro male it but with chocolate also…
I am making this with the addition of chocolate ganache for Thanksgiving. I love raspberries and dark chocolate. I’ll just make a slightly thicker ganache and spread it on top of the jam.
I saw this on ATK and fell in love. I’m bookmarking it for June when my daughter Charlotte turns 1!
Just made this lovely Raspberry Charlotte; haven’t tried it yet, it’s still “setting” in the fridge. Although I am an experienced baker, I only had 9” round pans and a 10” springform pan, so I purchased all new USA Bakeware Pans just for this recipe (8” round, 8” square, and a 9” springform). All was well until I placed the springform pan around the cake. It was way too big; the cakes shrunk so much that I had a 1/2” gap all the way around the entire cake causing the sides to bow out. I knew it wouldn’t hold the filling so I quickly folded a large piece of tinfoil and secured it around the cake. I then placed the springform pan around that and stuffed paper towels between the tinfoil and the pan. Ugh!!!!! I hope that works!!!! I think an 8” springform pan will work much better. In theory, a 9” springform pan should work just fine, but did anyone take into consideration that cakes shrink?
Hi there! I just made the cake for the second time. My results are much better! The cakes didn’t shrink this time; when I took them out of the oven, I intentionally dropped them on the counter, while still in the pan, from a height of twelve inches. I read about this technique on another site and it did the trick! Also, instead of using the springform pan, I simply used a 3” tall acetate cake collar and it worked beautifully! This will be a wonderful treat for my husband for Valentine’s Day! Thank you for sharing!