How was everyone’s Thanksgiving? We ate and ate and then ate some more! I’m still full. But, as a food blogger, I shall push forward 😉
Continuing with our focus on pasta, this recipe is a show stopper. It’s going to take a bit of time, but the result is nothing short of spectacular if I do say so myself! We’re going to be using the same Fresh Pasta recipe to make gorgeous Homemade Tortellini. They’re filled with the most creamy and fresh cheese mixture.
I’ll show you step-by-step how to make them like a boss. Your friends and family will be so impressed! The fresh tortellini take just minutes to boil, so once you have them formed and ready to go, you’ll be enjoying the fruits of your labor in no time!
Let’s dive in!
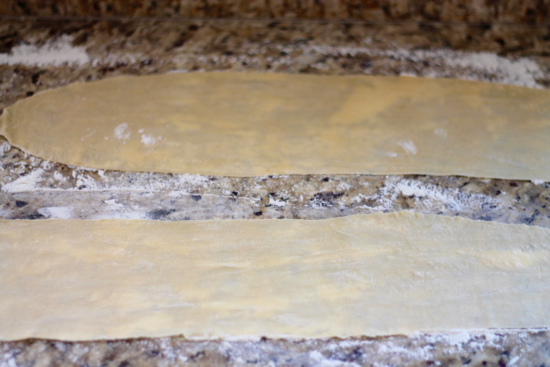
Roll out your fresh pasta dough in long sheets on a lightly floured surface.
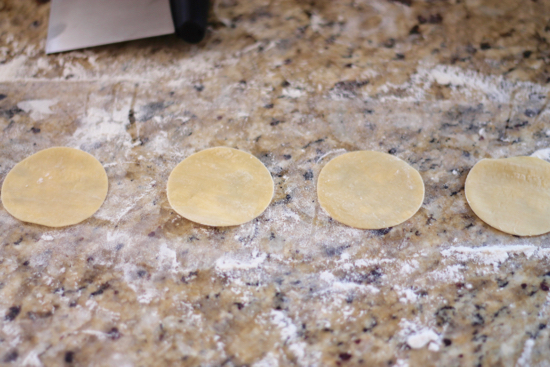
Cut in 2, 3 or 4-inch rounds using a cookie cutter. Technically speaking, the larger sizes will be tortelloni, but do what’s easiest and most comfortable for you. Don’t get hung up on technicalities. I used a 2 1/2″ cutter.
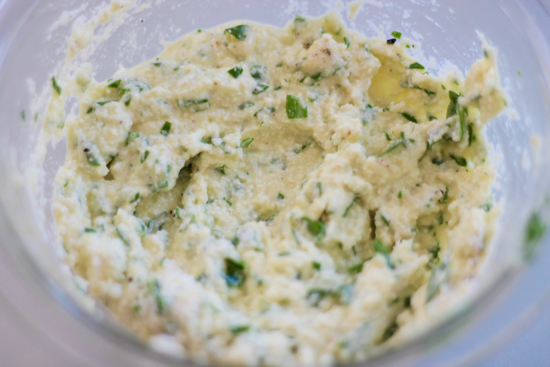
In a medium-sized bowl combine ricotta, parmesan, spinach, egg, pepper and nutmeg. Mix it all together.
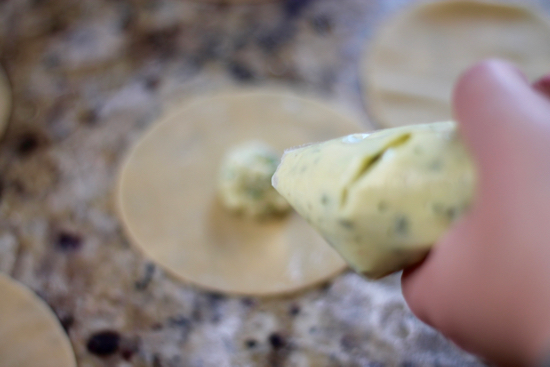
Put the filling in a zip top bag and snip one corner off for easy piping. Just like we did the ricotta mixture for the Lasagna.
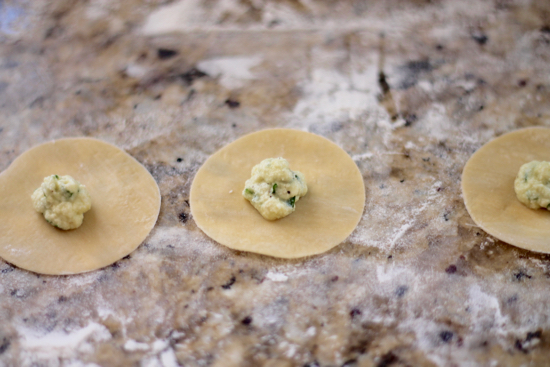
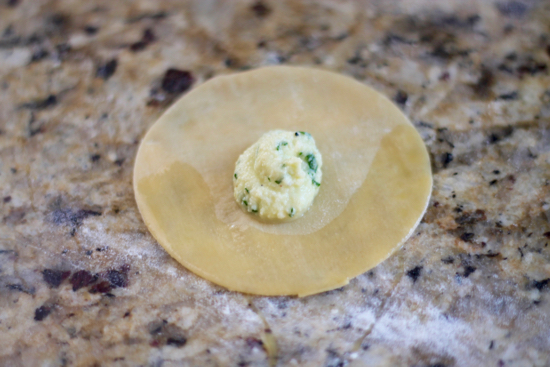
Pipe about 1/2 teaspoon of the filling into the center of each round.
Beat 1 egg with 1/2 teaspoon of water. Brush egg wash on half of the round.
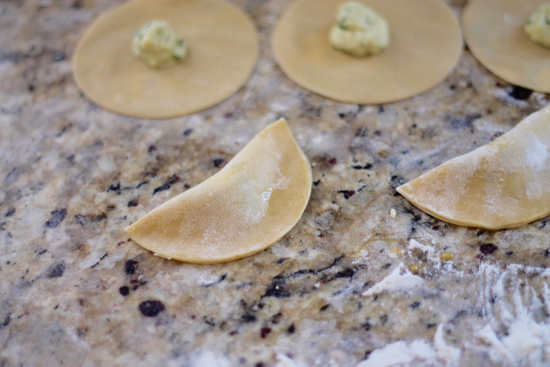
Fold over and gently press to seal.
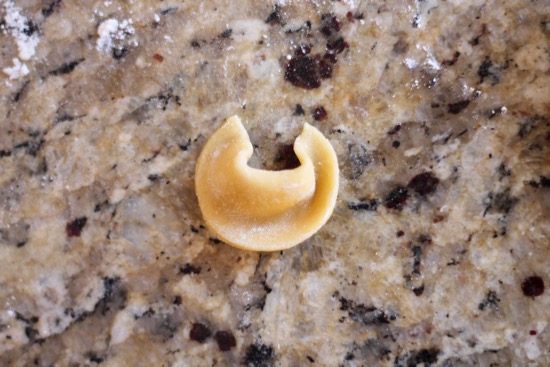
Bring the 2 ends together.
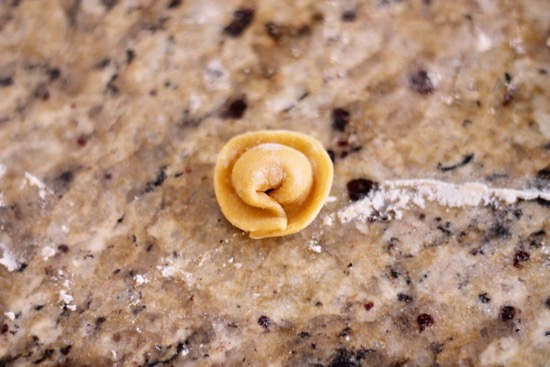
Seal with a little more egg wash and fold up the edge.
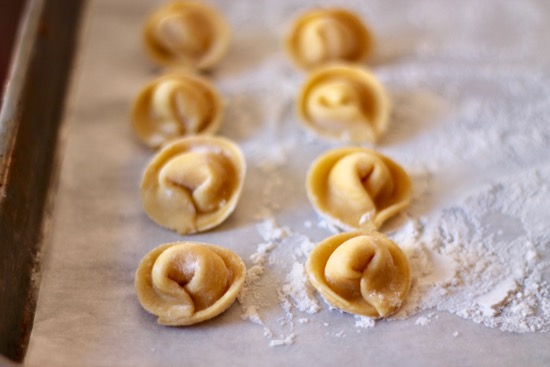
Place on a sheet pan, lined with parchment paper dusted with flour to keep from sticking while you work on the rest.

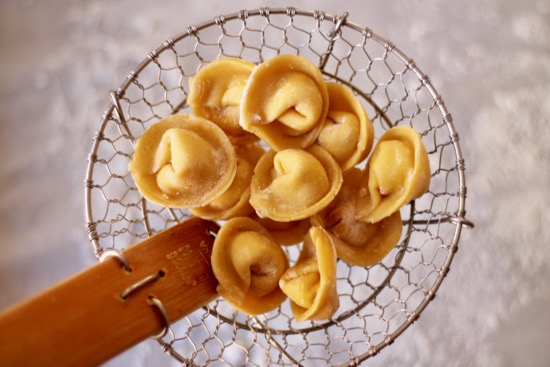
Boil for 3-5 minutes until they float to the surface.
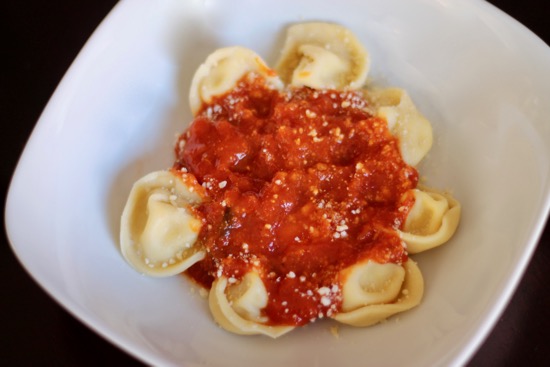
Strain and toss with your favorite sauce and a sprinkling of parmesan.
Who’s ready to make some tortellini? Let me know your favorite fillings!
XO, Sarah
- Fresh Pasta (see recipe below)
- ½ cup ricotta cheese
- ¼ cup grated Parmesan
- 2 tablespoons fresh chopped spinach
- 1 egg
- ¼ teaspoon black pepper
- 1 pinch freshly grated nutmeg (you could also use a pinch of ground nutmeg)
- For Egg Wash:
- 1 egg
- ½ teaspoon water
- Roll out your fresh pasta dough in long sheets.
- Cut in 2, 3 or 4-inch rounds using a cookie cutter.
- In a medium-sized bowl combine ricotta, parmesan, spinach, egg, pepper and nutmeg. Mix it all together. Put the filling in a zip top bag and snip one corner off for easy piping of the filling. Pipe about ½ teaspoon of the filling into the center of each round.
- Beat together the egg and water. Brush egg wash on half of the round. Fold over and gently press to seal. Bring the 2 ends together and seal with a little bit more of the egg wash and fold up the edge.
- Place on a sheet pan, lined with parchment paper dusted with flour to keep from sticking while you work on the rest.
- Boil for 3-5 minutes until they float to the surface.
- Strain, toss with your favorite sauce and enjoy!
- 2 cups all-purpose flour
- 3 large eggs
- ½ teaspoon kosher salt
- ½ teaspoon extra-virgin olive oil
- Pile up flour on a clean work surface. Make a deep well in the middle, enough to accommodate 3 eggs.
- Add the eggs, salt and olive oil into the well. Start pulling the flour into the well from the sides. Do it a little at a time until the dough takes shape.
- Knead for 8-10 minutes until smooth and elastic. All climates are different. So, if your dough is too sticky add a little flour, if it's too dry add a little water.
- Form into a disk, wrap in plastic wrap and let rest for 20 minutes. You can also store the dough in the fridge for up to 24 hours, just let it come to room temperature before rolling it out. If you're going to freeze the dough, put the wrapped disk in a zip top bag and make sure to get as much air out as possible. Use within one month.
- Cut the dough into quarters. Keep the other pieces covered with a damp paper towel to prevent the dough from drying out while working with one-quarter at a time.
- Press the quarter of dough flat so it easily fits into the pasta roller. Start off on the thickest setting of your pasta roller and begin to run the dough through the machine. Roll through each setting until you reach your desired thickness. My sweet spot for most pasta is a 6 or 7 setting on the KitchenAid attachment. It will get thinner and smoother with each pass.
- Lay out your rolled pasta sheets on a well-floured surface. You can now cut these up and use for lasagna, ravioli, tortellini, whatever your little heart desires.
I’m sharing this with my friends over at our weekly Fiesta Friday party co-hosted by Linda @ La Petite Paniere and Jhuls @ The Not So Creative Cook.


I can’t wait to try this! One of my goals is to learn to make fresh pasta. I’m just a big chicken but you make it look so much less daunting that I may just have to give it a shot!
It’s really easy, you’re going to love it!
Yum!!!
Thanks 🙂
Yummy, this looks so tasty! I love making pasta but have never tried Tortellini. I’d love to try it. Thanks for bringing this recipe to the Fiesta Friday! 🙂
Have a good weekend!
You’re going to have so much fun making it 🙂
Look how perfectly shaped those tortellini are! You’re just so good, Sarah! 👏👏
Thanks, Angie! That means a lot coming from you 🙂
Looks wonderful, you make it look easy❤️My turn next…thanks for sharing
Hope you enjoy the process as much as I do 🙂
I do! ❤️
How many tortellinis does this recipe make?